We bought this table at a yard sale for $30. Yes only 30 bucks! I am a bargain shopper and I was in love. Not only was it only 30 dollars but it was wood! And that shape… and those legs! Come to mama! Drool. Ok so I love things with funky shapes and weird angles. So this table for $30 was a no brainer. Loved it.


I had seen an amazing pinterest post of a table I loved. So I pinned it thinking not a lot of it since we didn't need a table at the time. When we moved to CA I immediately remembered it and hoped dearly that I would be able to the project! So I went back to this website where I originally found it at Domestic Imperfection. Go check it out! She did a great job with her table.


So then came the stenciling. Let me tell you, Ashley over at domestic imperfection was sent a stencil that was gorgeous. They were also one big stencil instead of several little ones. We looked into those but they were anywhere from 40-60 dollars after shipping! We didn't want to spend that kind of cash and we also didn't want to wait the time it would take to arrive. So off to the craft store we went. We got two different sets of stencils for about 10 bucks total. But of course it took us much longer than the 10 minutes Ashley's took hers. So basically it's either you need to have the time or the money. Haha!
Here's where we started. The middle! We loved the big middle pattern but then thought we should start from the outside and work our way in. So that's just what we did.

Now I know that it seems seamless and perfect without mistakes, but let me assure you that wasn't the case. Here's a close up to show you.

Here's a close up to show you. See that to the left of the corner stencil? That is smudging. Right before staining time sand it down a little, but overall it won't show a lot, just a little.
Well can you just take a quick guess and tell me out of Brian and me who you think was better at stenciling?

It was BRIAN! I was so impressed with him. We both got started, but his stencils turned out so much sharper and straighter so I told him he could finish. ;) But seriously, I think he enjoyed making something and was pleased with the results.


This was the end of day one:

There was two seconds we thought about leaving it like this. Simple. But we ended up thinking it looked kind of empty. So we pressed on.

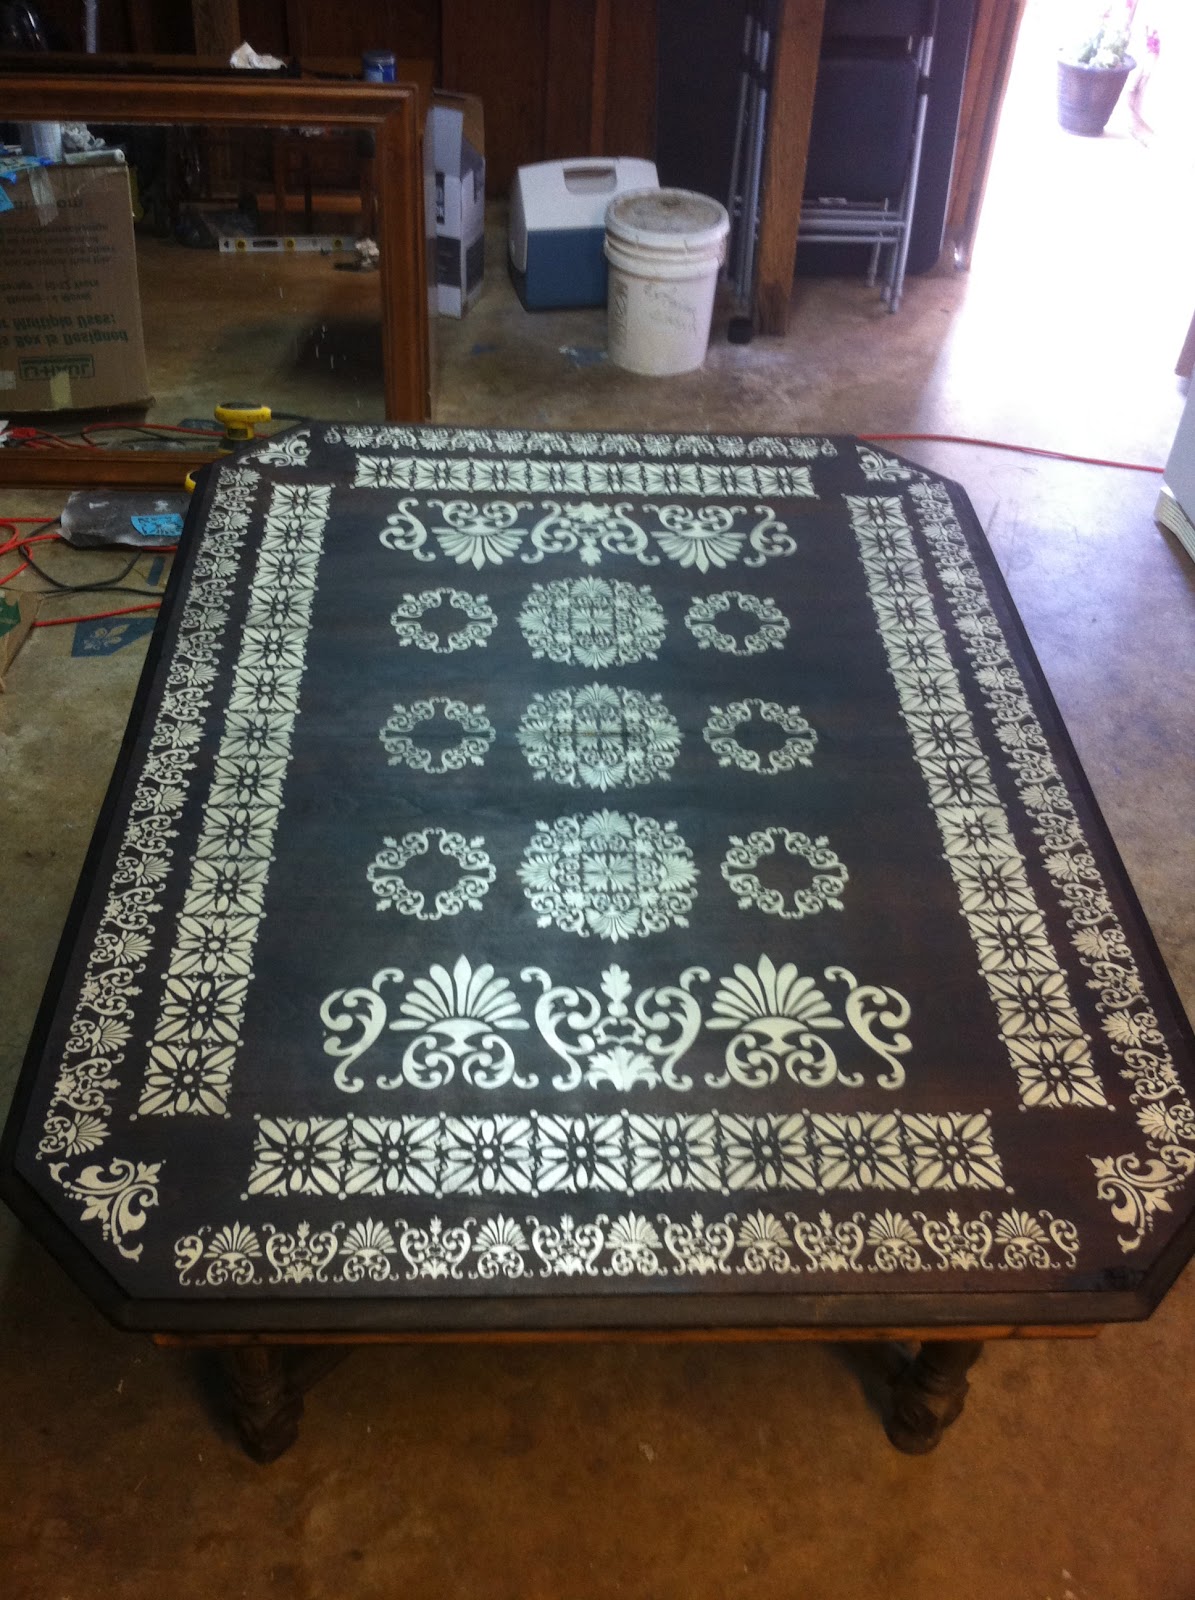
And glad we did! This was after the stenciling was finished! Aren't you in love? I could almost leave it like this and be happy, but we didn't.

We had decided on a dark stain. Like really dark, I believe it is called Ebony by Miniwax. But first we put a pre-stain conditioner. Even that added a richness and we liked what we were seeing.
See the difference in the "top" of the table near Brian (has conditioner), the middle of the table (no conditioner), and my end of the table (has conditioner)?

Close up with the conditioner:
I love how you can see the grain of the wood so well!

Here is the whole thing with conditioner:

Then we went and put on one layer of the stain, anticipating we might need several layers of it. We were wrong. This is how it turned out after the first round of stain:

Wow, right?!

Here is the finished product (yes there will be chairs around the outside):

And here is another hint to our next blog:

So the total thing took us about 12 or so hours over several days. Because of the stain and poly and everything you have to wait hours in between to put on other layers and such. So because we would mostly do it after the kids were in bed, we just did it several nights in a row. So we are ready to tackle more! This was our first encounters with stain and poly but we weren't disappointed. It was worth the time and effort.
Hope you enjoyed it!
No comments:
Post a Comment